I noticed that everyone working on cleaning up the video in the C64 likes to use the Easy Flash 3 menu as a reference image. So in keeping with this spirit I extracted the ef3-menu-1.2.0.crt contained in the zip file I downloaded from HERE and copied it too my Kung Fu Flash Cart's SD card, and then proceeded to spend the next 2 hours trying to take a picture of it from my VIZO LCD monitor. Why 2 hours you may ask? Well it all came down to trying to avoid the moiré pattern that the camera insisted was there, but really wasn't in reality.
Finally I achieved success and got a very clean image of what my eyes were actually seeing. And believe me it was every bit as good as the image below.
Finally I achieved success and got a very clean image of what my eyes were actually seeing. And believe me it was every bit as good as the image below.
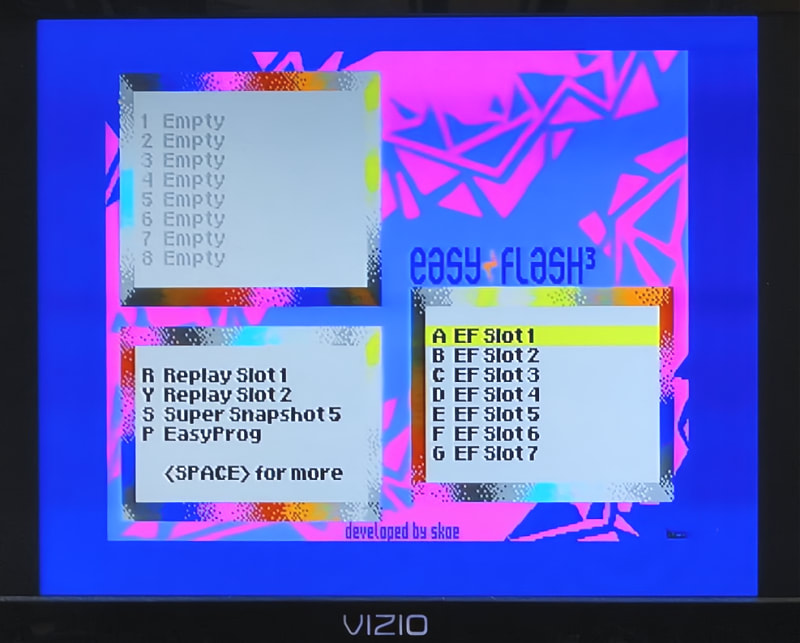
Real Image Produced by my C64-VGATE Prototype Video Board via the S-Video Connection
This looks so good, that I doubt it would have been noticibly better with one of the C64 HDMI solutions, other than perhaps a bit more crispness.
So not only has my alternative video board gotten rid of the over scan and resultant white line, it also produces rather excellent video quality as well. And because of the FMS6400CS video buffer/summer chip, it will also render some of the best composite video ever seen coming out of this system, without compromising the S-Video, or requiring a switch to disable it. In fact both video outputs can be used simultaneously without any issues or interference.
Edit: you may have noticed that there are some horizontal bands that appear darker. Yes that was really there and not an artifact created by the camera. As it turns out my last revision to the schematic where I had changed two resistor values to achieve a higher Luma output, was a mistake. After I changed them back that dark banding completely disappeared. Some times it's best to leave well enough alone.
The banding was in areas that had a particularly bright object being displayed, thus exceeding the nominal 1 Volt peak-to-peak video level, and causing this unwanted side effect due to the overdrive.
I'll be re-posting the schematic with the changes after I add the interface board schematic as the 2nd page.
LINK to Previous Related Post
- Michael
 RSS Feed
