|
SDrive-Simple-II SD Inside for Atari Stock and 576NUC+ Computers
|
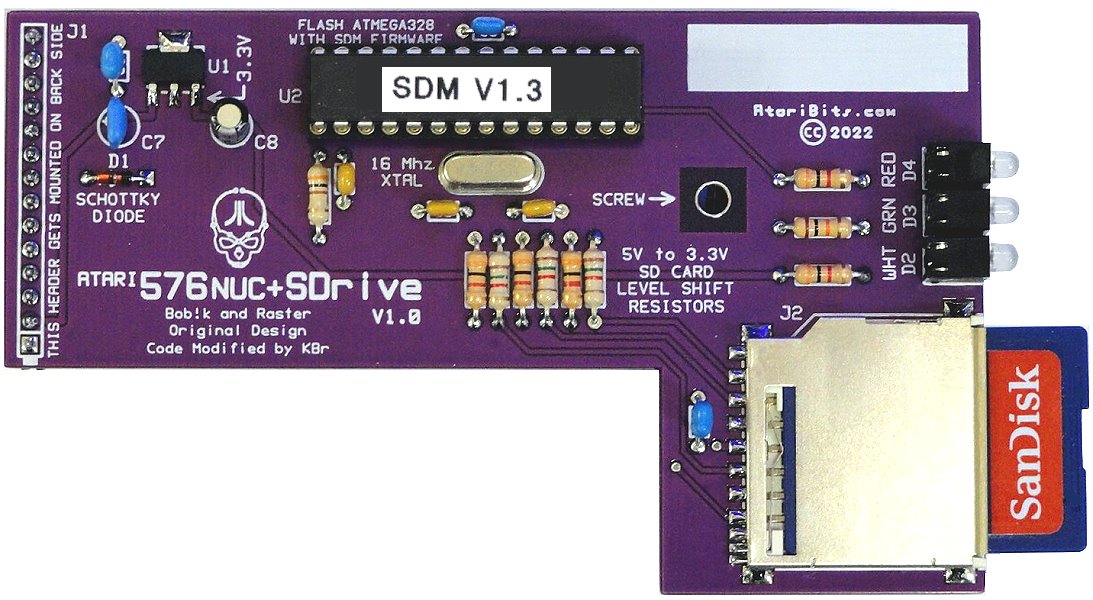
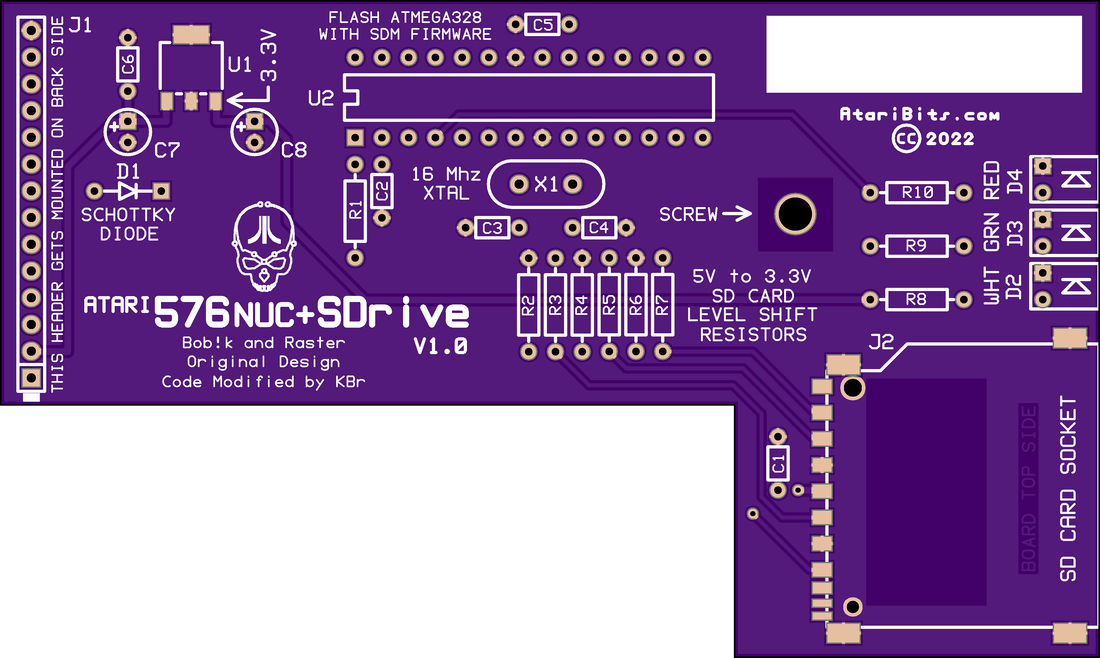
If you're looking for something without all the bells and whistles of FujiNet, there is a much simpler non-network alternative. The 576NUC+SDrive Daughter Board. This is the bare essential means to load programs and games into your NUC using SD card media.
|
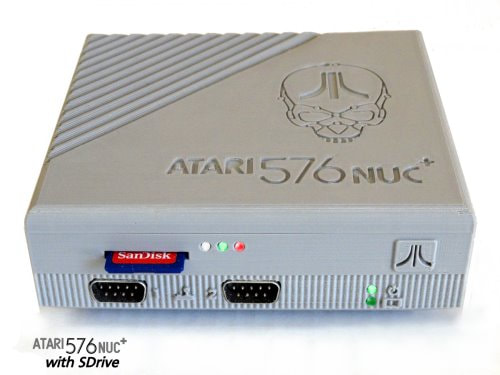 Click Image to Enlarge
There are many variations of the SDrive hardware which was first created by Bob!k and Raster in 2008, and then later modified by KBr to eventually become the SDrive-MAX. However most of these solutions were meant for external use and needed to be plugged into the SIO port via a cable. In my version I wanted to take a different approach and make this suitable for internal installation, no longer to be a dead-end device. So I began the SDrive-Simple project.
What is an SDrive?
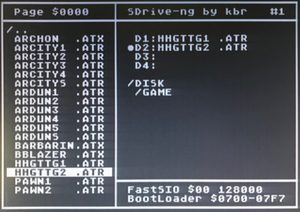
It is an SIO device that allows an SD memory card to be used as a simulated floppy drive on an Atari 8-bit computer. Actually it can act as 4 individual drives. And with an OS ROM replacement having a high speed SIO patch, it's very fast!
Can I use a Micro-SD Card?
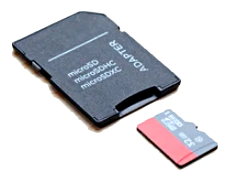
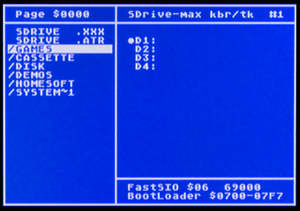
Yes you can use either a standard SD card or a Micro-SD card with a suitable adapter. Native mode is Standard SD. Either card requires the SDrive.atr file in the root directory to give you the Loader/Control Menu upon start-up.
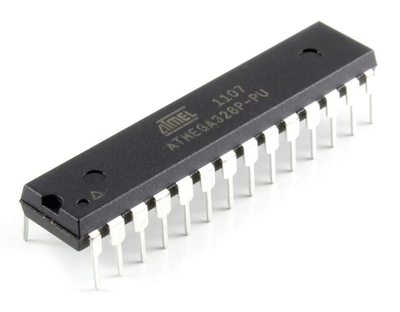 Click Chip Image to Download ATMEGA328P Datasheet
Can I use SD cards larger than the original 2008 SDrive 2GB limit?
Since this board has been designed to run the newer SDrive-MAX firmware, it can utilize cards as big as 32GB and fully supports the FAT32 format.
Can I Swap Disks in Multi-Disk Games and Applications?
Unfortunately there is no provision for swapping disk images.
What File Formats are supported?
XEX and ATR are the only supported file types. CAR, ROM, ATX, XFD, CAS are all examples of un-supported file types.
How can I Disable the SDrive if I don't need it?
Just like a real floppy drive, sometimes you don't want or need to load a disk. In those cases, simply leave out the SD Card and the SDrive is as good as turned off. And because of the Schottky diode connected between the SDrive and the SIO Data-In line, no ill effects will occur to other devices wanting to share the SIO bus.
How do I Flash the Firmware into the ATMEGA328P chip?
Unlike the arduino board used in the original SDrive-MAX, this has no boot loader or fancy USB port to connect to, so it requires an old school approach and a programmer (e.g., TL866) in order to get the firmware into the ATMEGA chip.
There are two files required. One for the EEPROM and the other for the Flash program memory, although if you have a TL866-II Plus and are using the XGecu Pro app a single binary file has been provided in the download that'll load both aspects simultaneously.
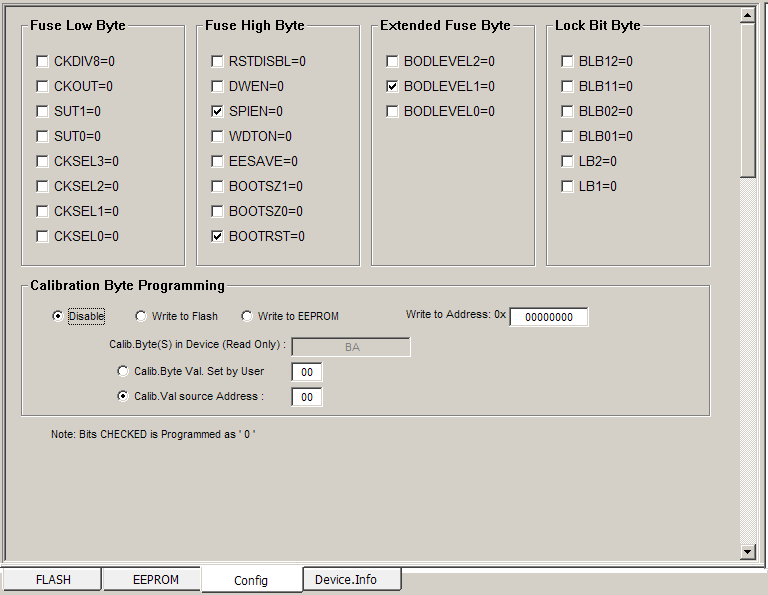
Next you'll need to set the fuse bits in the ATMEGA as follows...
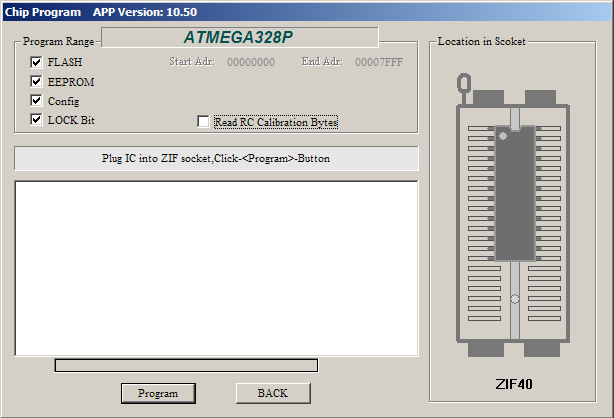
These are done in the Config tab of the XGecu Pro TL866-II Plus programming app as shown below.
Since this board has been designed to run the newer SDrive-MAX firmware, it can utilize cards as big as 32GB and fully supports the FAT32 format.
Can I Swap Disks in Multi-Disk Games and Applications?
Unfortunately there is no provision for swapping disk images.
What File Formats are supported?
XEX and ATR are the only supported file types. CAR, ROM, ATX, XFD, CAS are all examples of un-supported file types.
How can I Disable the SDrive if I don't need it?
Just like a real floppy drive, sometimes you don't want or need to load a disk. In those cases, simply leave out the SD Card and the SDrive is as good as turned off. And because of the Schottky diode connected between the SDrive and the SIO Data-In line, no ill effects will occur to other devices wanting to share the SIO bus.
How do I Flash the Firmware into the ATMEGA328P chip?
Unlike the arduino board used in the original SDrive-MAX, this has no boot loader or fancy USB port to connect to, so it requires an old school approach and a programmer (e.g., TL866) in order to get the firmware into the ATMEGA chip.
There are two files required. One for the EEPROM and the other for the Flash program memory, although if you have a TL866-II Plus and are using the XGecu Pro app a single binary file has been provided in the download that'll load both aspects simultaneously.
Next you'll need to set the fuse bits in the ATMEGA as follows...
- Fuse Low Byte: 0xFF
- Fuse High Byte: 0xDE
- Extended Fuse Byte: 0xFD
- Lock Bit Byte: 0xFF
These are done in the Config tab of the XGecu Pro TL866-II Plus programming app as shown below.
And finally you'll need to insert the chip into the TL866-II Plus programmer's zif socket, and then program it.
Note: Earlier versions of the TL866 and the programming app it came with, will require a variation on how you load the required firmware files. In the firmware download provided below, there are individual binary and hex files to support those requirements and/or other programmers.
Another possible way to get the firmware into the chip is to use an existing SDrive-MAX based on an Arduino UNO R3 with a socketed ATMEGA328P chip. Then purchase a chip with the boot loader already pre-installed (Jameco Part no.: 2129334), plug this into your UNO board, and flash the latest greatest SDrive-MAX firmware via the built-in USB port. Do the screen calibration if required, and then use the touch screen to go to CFG, select the screen saver feature and turn it off. Pop this chip out of the SDrive-MAX and insert it into your SDrive-Simple-II board and you are good to go.
Another possible way to get the firmware into the chip is to use an existing SDrive-MAX based on an Arduino UNO R3 with a socketed ATMEGA328P chip. Then purchase a chip with the boot loader already pre-installed (Jameco Part no.: 2129334), plug this into your UNO board, and flash the latest greatest SDrive-MAX firmware via the built-in USB port. Do the screen calibration if required, and then use the touch screen to go to CFG, select the screen saver feature and turn it off. Pop this chip out of the SDrive-MAX and insert it into your SDrive-Simple-II board and you are good to go.

Build It / Flash It / Use It
|
Software
|
| |||||||||||||||||||||||
Hardware
NEW SDrive-Simple-II
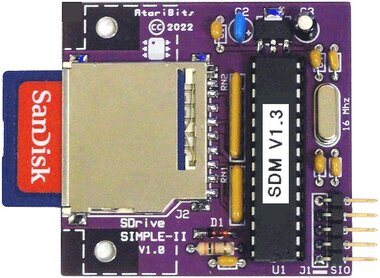
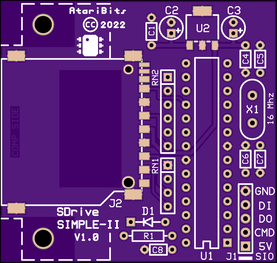
This is a universal SDrive board designed to fit above the SIO jack in virtually any Atari factory made 8-bit computer.
NEW SDrive-Simple-II
This is a universal SDrive board designed to fit above the SIO jack in virtually any Atari factory made 8-bit computer.
|
| ||||||||||||||||||||||||||
NEW 576NUC+ SDrive Daughter Board
This variation is meant to be plugged into the custom Atari 576NUC+ mother board utilizing the internal SIO expansion header.
This variation is meant to be plugged into the custom Atari 576NUC+ mother board utilizing the internal SIO expansion header.
IMPORTANT: You need TKIINUC =>V2.0 firmware for proper operation in the 576NUC+ (verify with ALT+F1 in Basic). Go to: Systems/576NUC to get latest firmware release. |
| ||||||||||||||||||||||||||||

