AtariBits
  • Home
  • Systems
    • 576NUC
    • 1088XEL >
      • XEL-CF Drive
      • XEL-CF3 Rapidus Variant
      • Accessories
      • XEL Archives
    • 1088XLD >
      • RGB2VGA-XLD
      • ARROW2JOY-XLD
  • TransKey
    • TK-II >
      • TK-II Manual
      • Installation
      • Device Compatibility
      • TK-II Archives
    • TK-II-STEREO
    • TK-II Control
  • XEP80-II
  • JOY2PIC
  • MOUSE
  • MIDI
    • MIDI 3D Printed Cases
  • UGV
  • SDrive
  • Blog
Picture
       Custom 3D Printed
       Enclosure  Designs


Thanks to Mr Robot of AtariAge there are now three different enclosure designs available for download, and ready for 3D printing.  This will let you protect and add that professional touch to your MIDI interface devices.
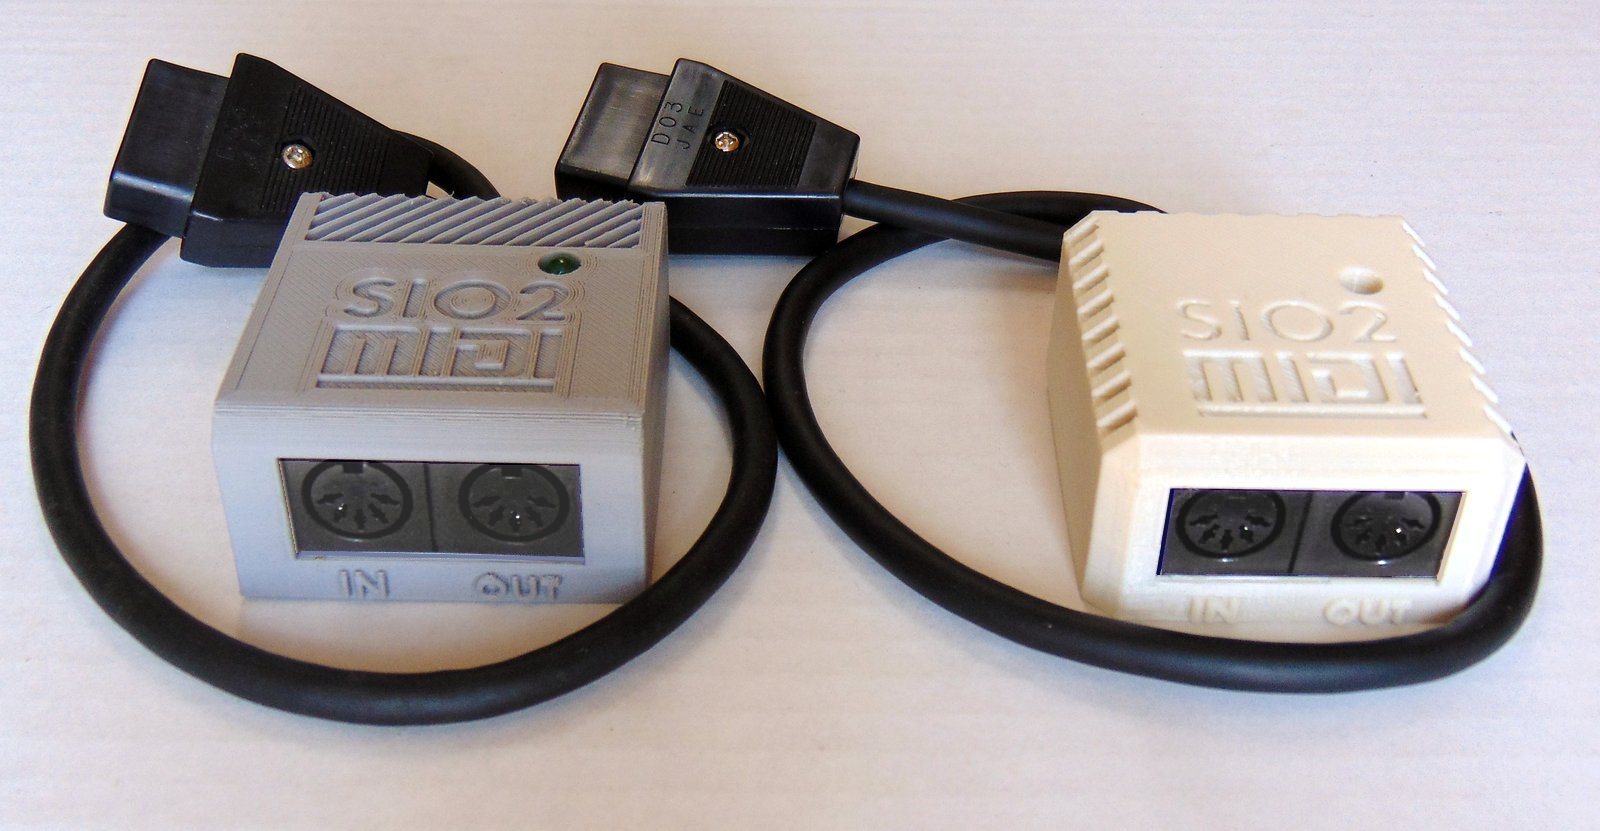
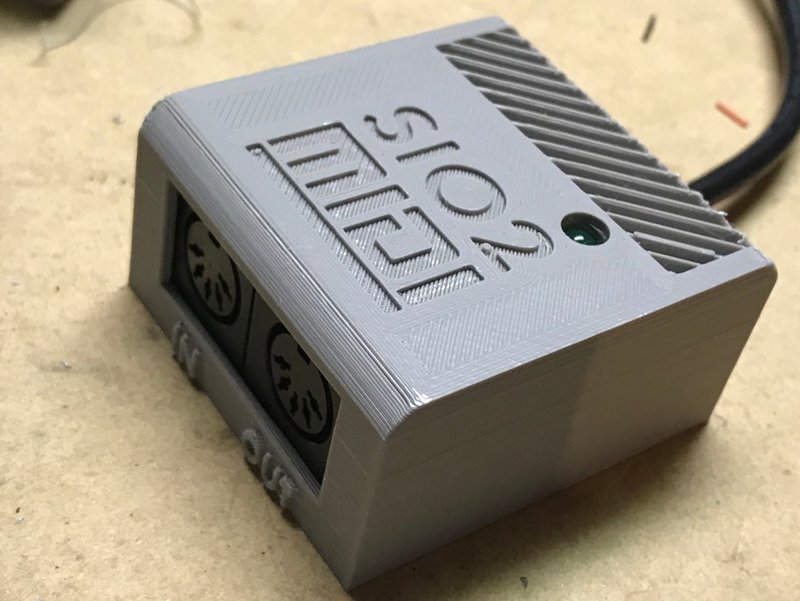
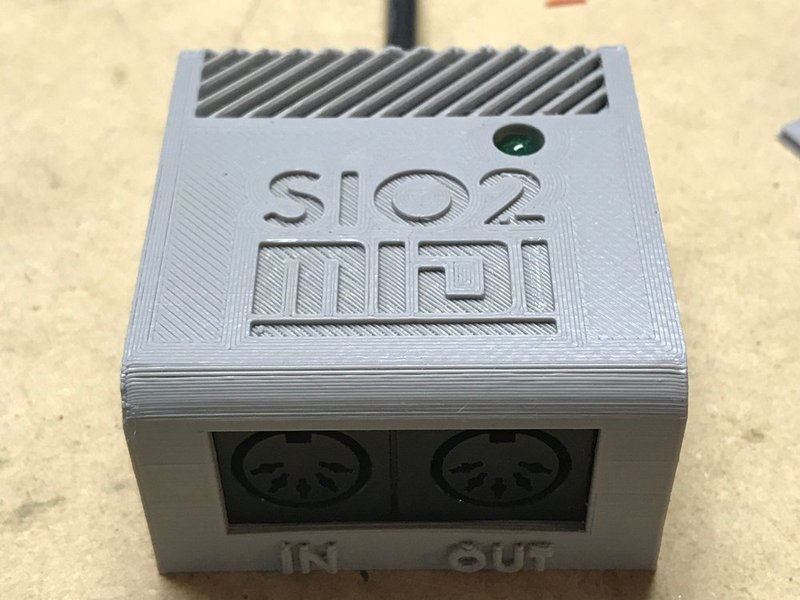
SIO2MIDI CASE
Picture
STL FILES
Picture
Picture
SIO2MIDI-XE_case.zip
File Size: 88 kb
File Type: zip
Download File

SIO2MIDI-XL_case.zip
File Size: 57 kb
File Type: zip
Download File

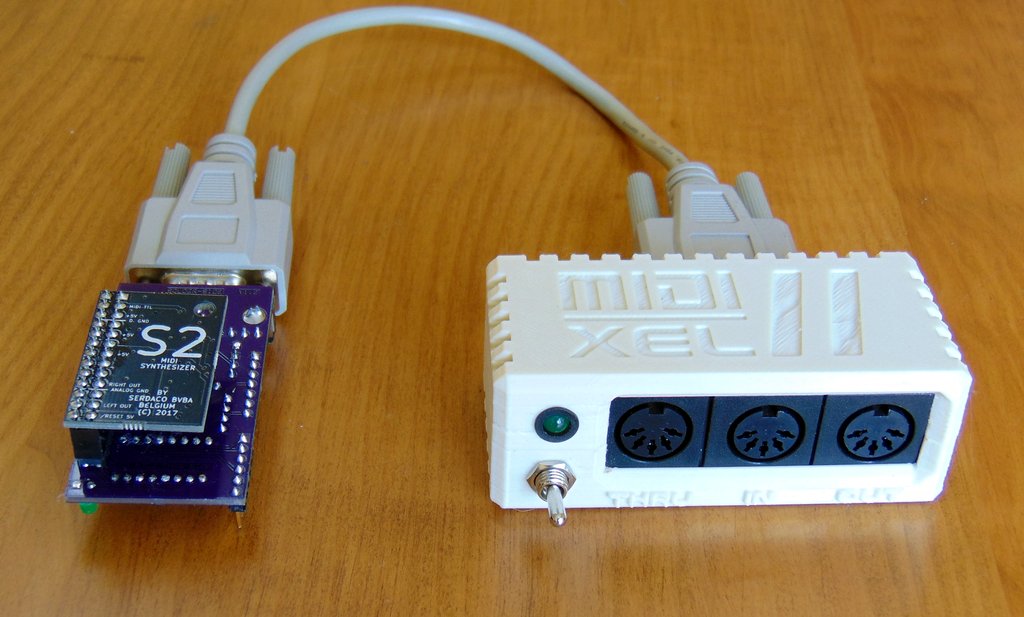
MIDI XEL II - DIN INTERFACE CASE
Picture
STL FILES
Picture
Picture
MIDIXEL_II_INTFC_case.zip
File Size: 61 kb
File Type: zip
Download File

Picture
Picture
Original XE style SIO2MIDI Case was Designed in TinkerCad
Don't have the PCB Yet?
Picture
Picture
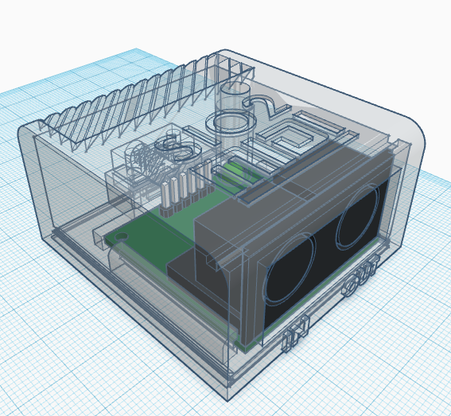
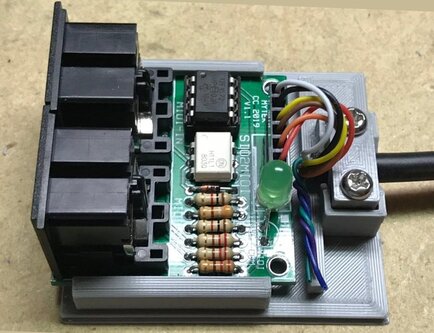
Inside View of the MIDI XEL II Case
M3 or 4-40 screws are suitable for buttoning up the case. The T1-3/4 green LED and SPST switch are wired to the internal header of the MIDI XEL II PCB.

SIO2MIDI CASE ASSEMBLY
Picture
1) Start with BASE
Picture
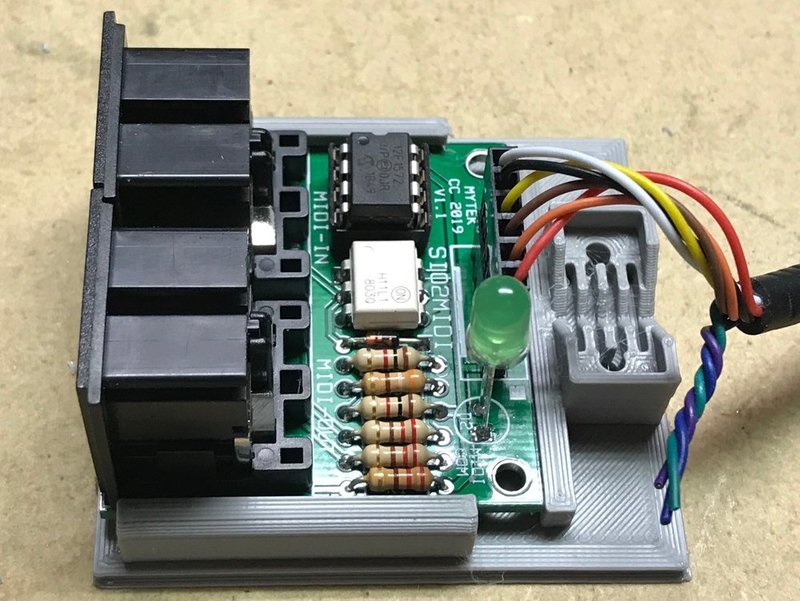
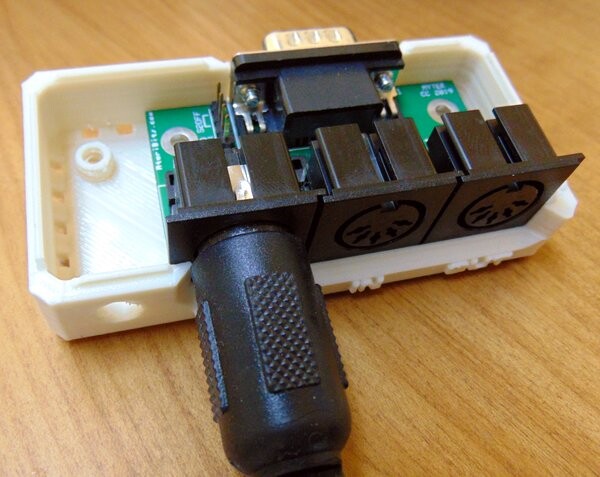
2) Slide SIO2MIDI Board into BASE
Picture
3) Secure Cable Clamp to BASE with M3x12 (4-40x1/2") screws
Picture
4) Drop BOX over BASE
Picture
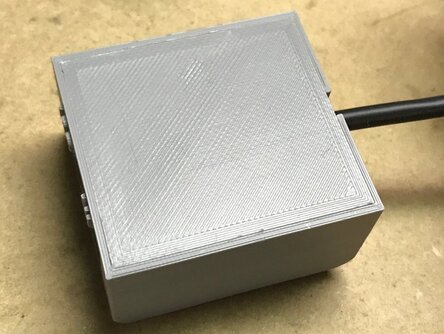
5) Snap BASE into BOX (squeeze with vice)
Picture
6) Case Assembled and Ready to use
Powered by Create your own unique website with customizable templates.