It languished for a while afterwards, but then I set it up in a permanent spot on my workbench, attached an SDrive-Max to it, and connected it to a tiny color TV I pulled out of storage. It then became my JOY2PIC programming station, and was quite useful in this new role.
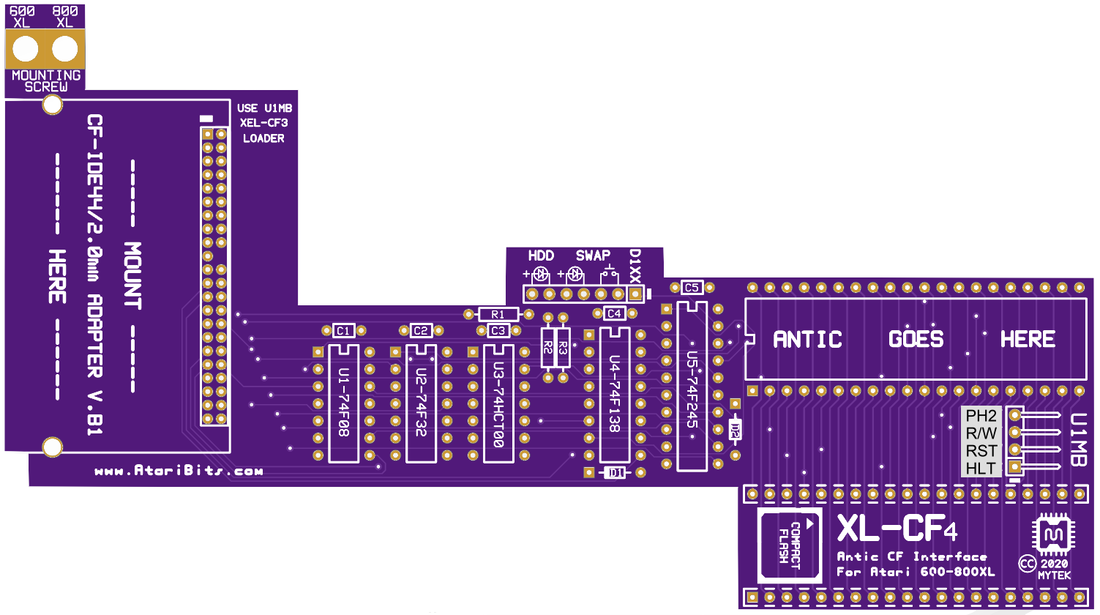
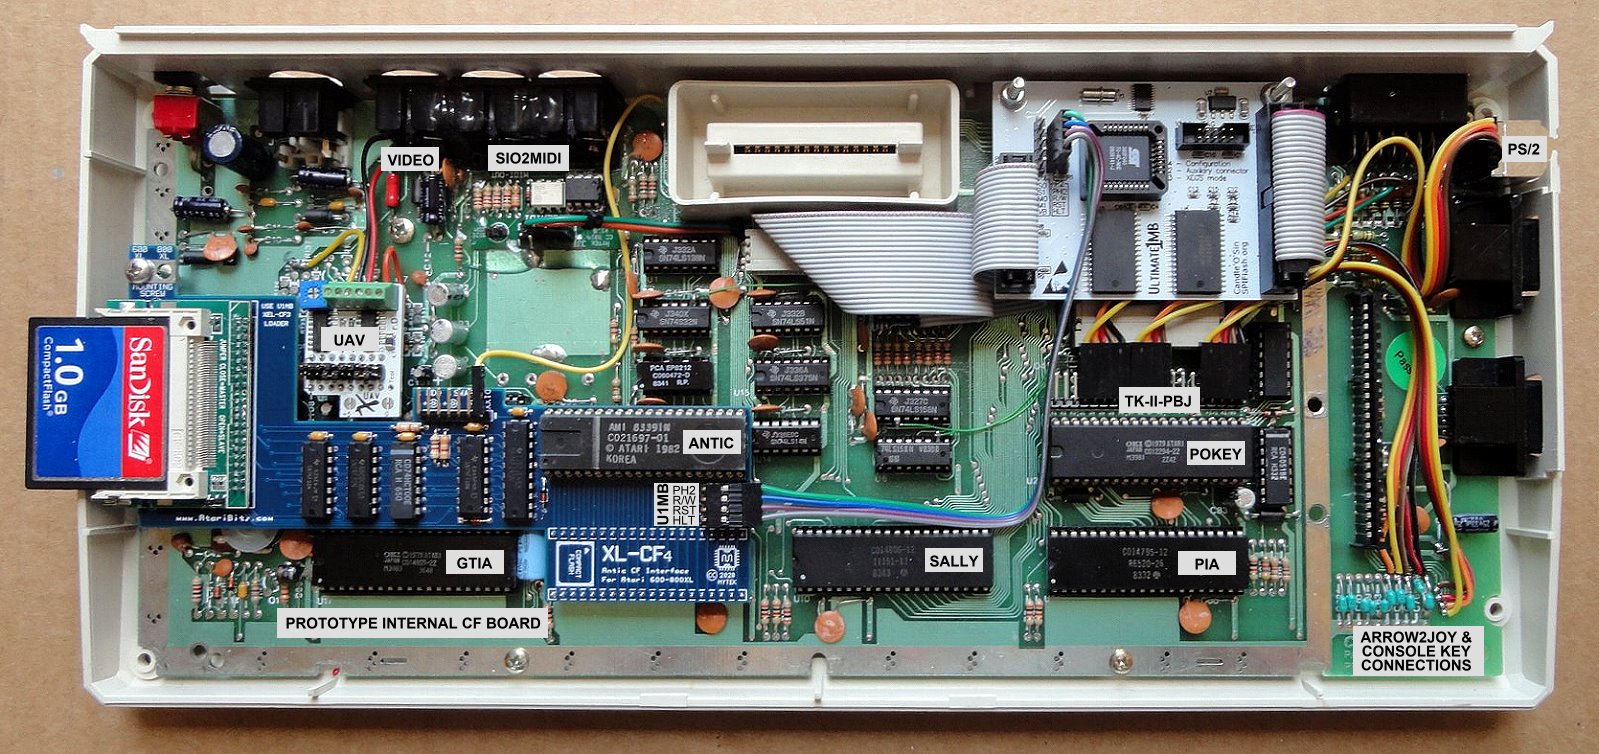
However never one to leave well enough alone, and getting inspiration from Flashjazzcat's video on installing a U1MB inside a customer's 600XL, I started thinking why not take it a step further and also install an internal CF drive. But what could I use to make that happen? Then it hit me... make a new board mimicking the XEL-CF3 circuit, and piggyback Antic because virtually every signal needed was already there. So was born the XL-CF4.
|
Revised: 5/16/2021 Added Pull-up Resistor R4 | ||||
But of course I wasn't going to stop at only installing The U1MB and the internal CF drive, I also decided to add a TK-II as well, which actually made it much easier to test stuff without the stock keyboard getting in the way, or risk damaging its Mylar circuit connection from the constant plugging and unplugging that would have ensued.
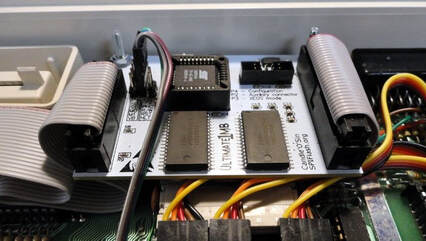
Drilling the mounting holes was the trickiest part, which required slowly incrementing in size from a tiny drill bit to the final size. It's literally on the edge of the board threatening to break out at any moment. Check out Flashjazzcat's video above for the details on doing this.
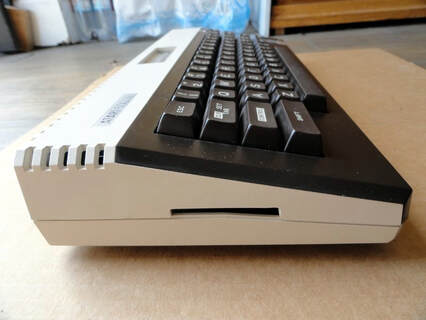
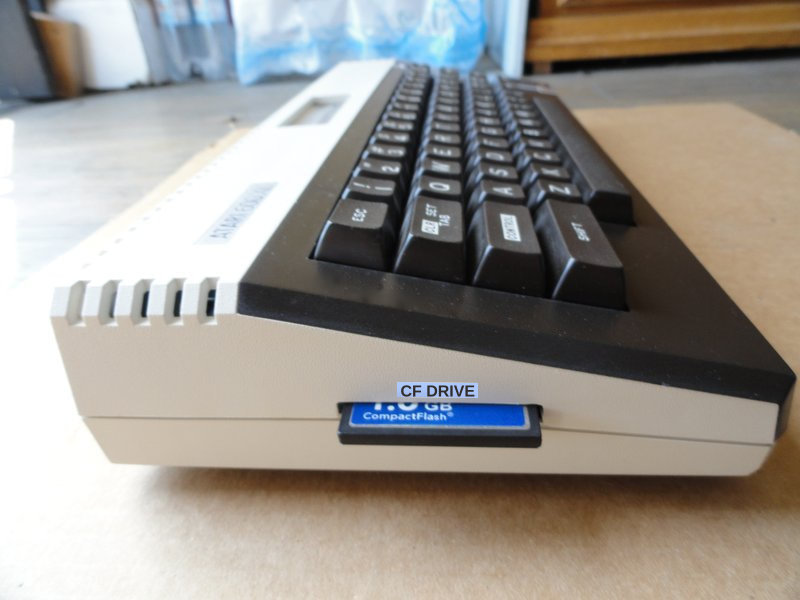
I was able to mate up the top and bottom of the case, mark the left and right side of the required opening and then measured the thickness of the card to get a height (I added a smidge more to allow free travel). The end result looked pretty good.
The downward angle towards the right is part of the original case design, so there was no way other than Bondo or plastic fillers that could have been done about that. Although it looks kinda like it's talking :-)
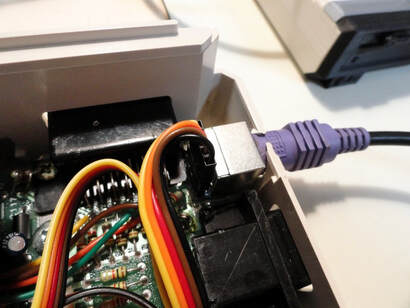
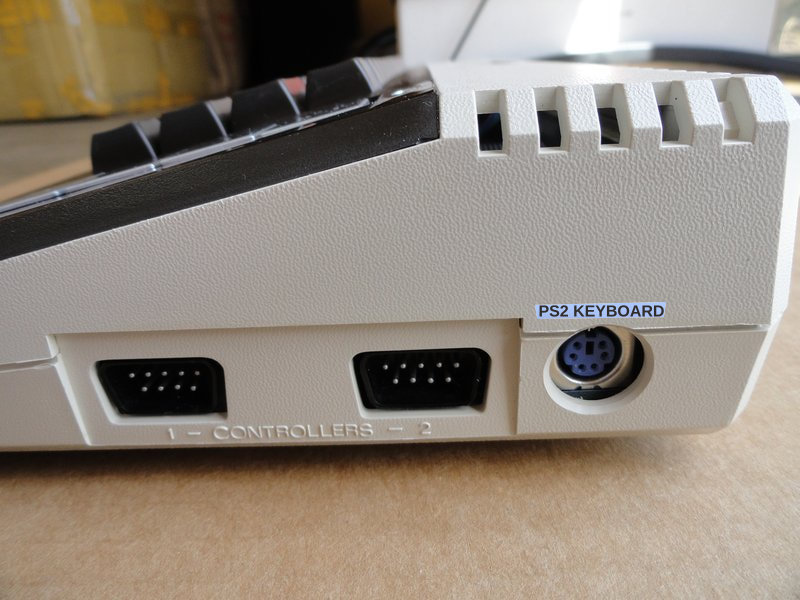
Wow but where was I going to mount the PS/2 keyboard connector for the TK-II ?
I found a tiny bit of space between the joystick and the SIO jacks, but it required notching out the SIO jack mounting ear on that side, as well as doing an extreme reduction in the PS/2 jack interface board (lot's of sanding required). I also sanded off the bottom of the interface board to minimize the height of the various soldered pins.
Lastly I also had to move two resistors, and scrape off part of the ground plane on the 600XL motherboard, all to reduce the height at which the jack would be mounted off the motherboard, and thus prevent it from shorting out to the ground plane. A little epoxy completed the installation.
What's nice about having the TK-II, is the flexibility of putting the keyboard wherever I want irrespective of the computer. And secondly the TK-II has some hot keys aimed at supporting the U1MB as well as the Loader. However I did discover a small timing issue with the TK-II firmware that required my attention (stay tuned for a new version to be released soon).
As for how the project turned out... I think the final results speak for themselves.
- UAV
- SIO2MIDI
- 64K Base RAM Upgrade
- U1MB
- XL-CF4 Prototype
- TK-II-PBJ with ARROW2JOY Feature Connected to Joystick Port 1
What might I still add ?
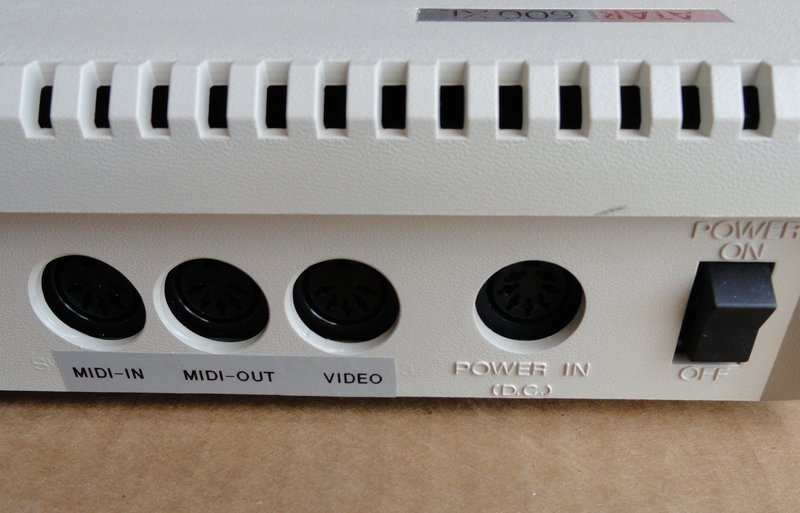
- Internal Dream Blaster S2 MIDI Synthesizer with a 3.5 mm Stereo Jack and a Mini-Toggle Switch to Select the MIDI Source (Internal or External).
Will the XL-CF4 be Made Available to the Public ?
No I'm afraid not, or at least not in its present form. There are still some timing issues that need to be resolved, which limit it to only working reliably with a handful of clone Sandisk cards I have left over from a lot of 10 pieces purchased years ago on eBay. However unlike it's little brother the XEL-CF3, most other CF cards including genuine Sandisk simply do not work in this application. Also the prototype is a 4-layer board which due to its size is a little pricey. It would be far better to redesign it as a 2-layer board instead to keep the cost down. And finally, it requires precision mods to the case plastic in order to create the opening where the CF card can slide into the socket, not something very many people have the capability of doing especially if the end result is to approximate a factory finish look. If done poorly, at the very least you have done irreparable damage to your Atari's enclosure.
- Michael

 RSS Feed
