I ran into a few snags after assembling the first mostly THT NUC FujiNet prototype. The main problem off the start was that the 3.3V regulator was intended for a 5V input which didn't bode well with our diminished power supply due to the Schottky diodes that are inline with both the USB 5V and the 576NUC+ power. Specifically I wasn't seeing a high enough voltage feeding the ESP32 module as a result.
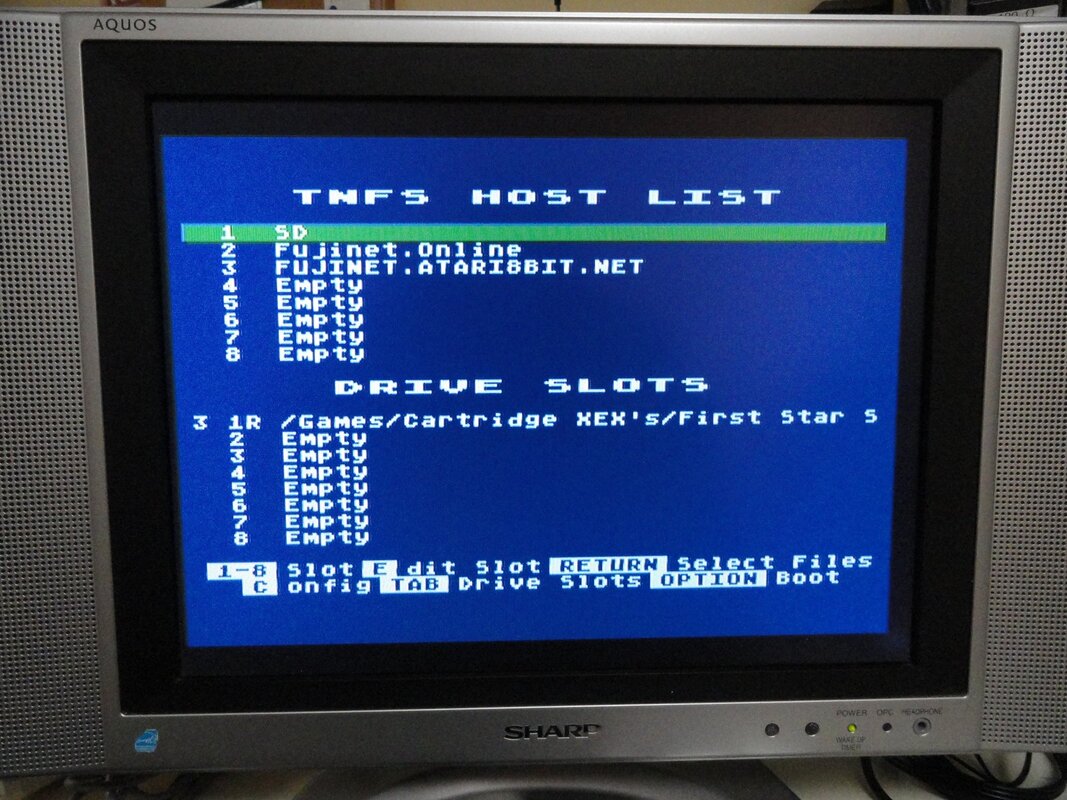
Once that problem got resolved by spec'ing a LDO (Low Drop-Out) voltage regulator. Then the only issue remaining was that the SD Card wasn't working, and in fact it still doesn't, but that will be pushed down the road until another day. However the network side of things works great as can be seen below. I was able to quickly log-in to my WiFi router, and then added a couple of existing TNFS server addresses, subsequently I was able to download a game via the internet and run it. It was quite fun and absolutely amazing all at the same time!
Once that problem got resolved by spec'ing a LDO (Low Drop-Out) voltage regulator. Then the only issue remaining was that the SD Card wasn't working, and in fact it still doesn't, but that will be pushed down the road until another day. However the network side of things works great as can be seen below. I was able to quickly log-in to my WiFi router, and then added a couple of existing TNFS server addresses, subsequently I was able to download a game via the internet and run it. It was quite fun and absolutely amazing all at the same time!
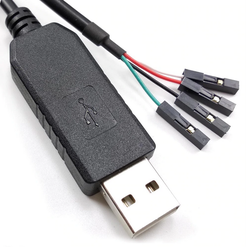 PL2303TA USB/Serial Cable
 However the freshly assembled board did require a few more tweaks...
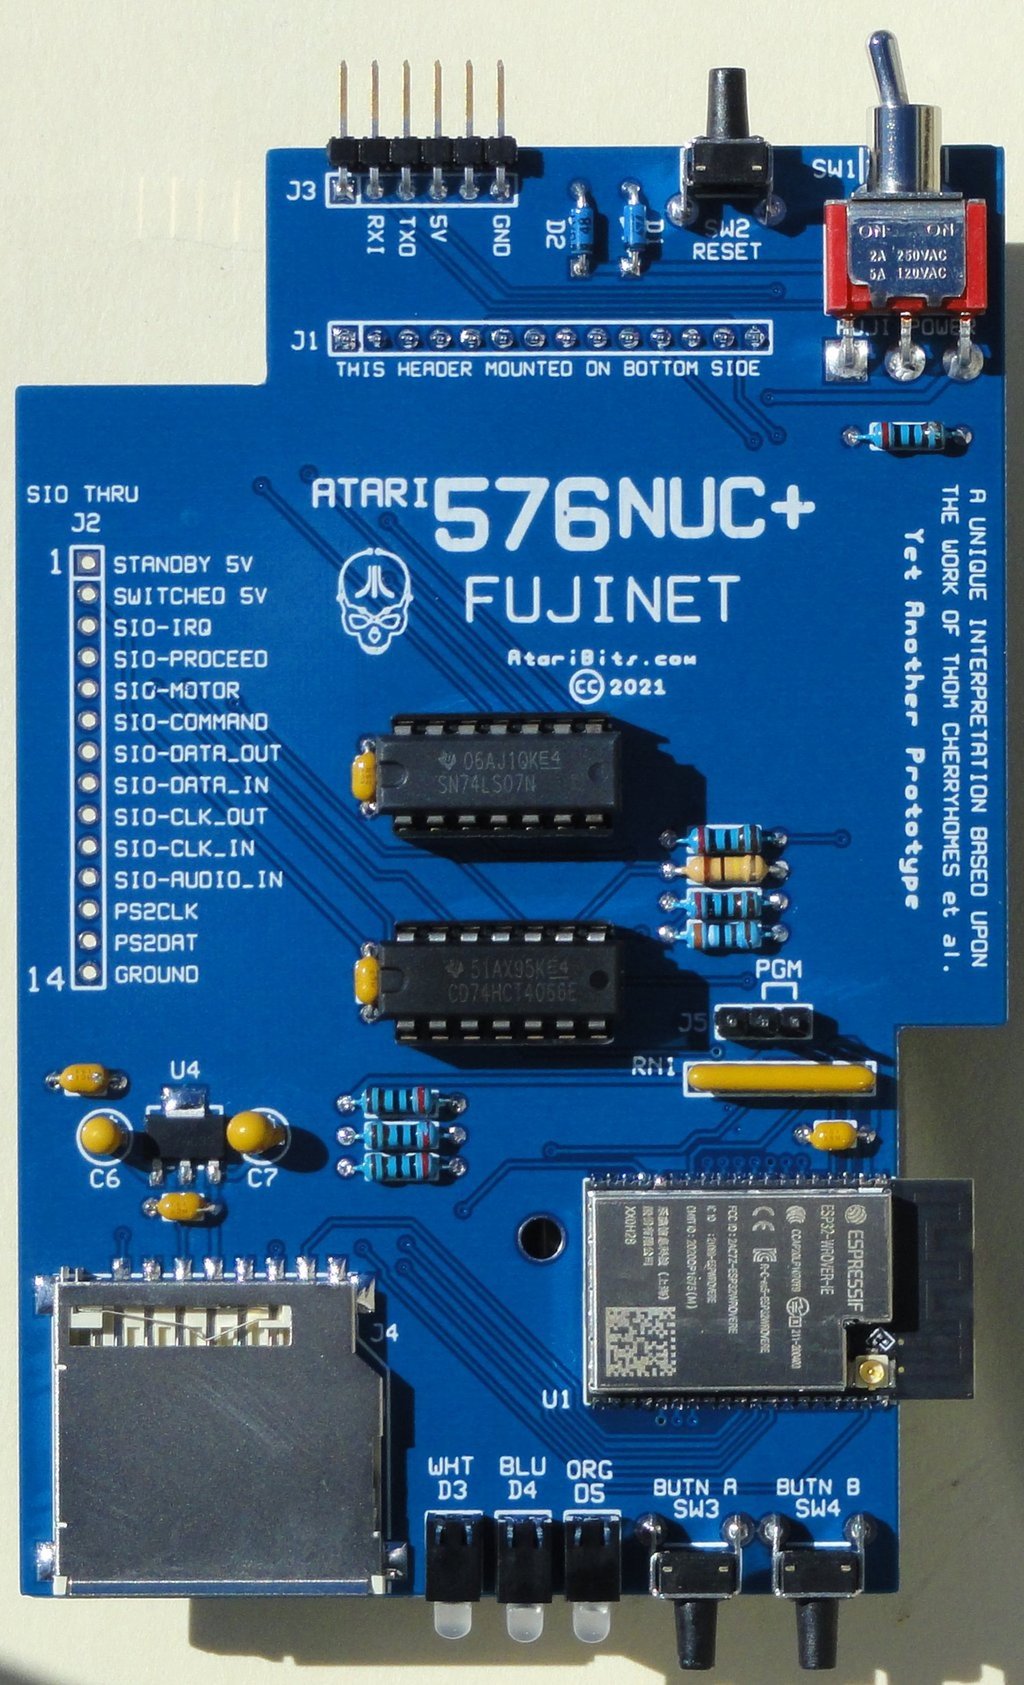
The series resistor for the SIO-Audio had to be increased from 470 ohms to 100K because the NUC already has a fairly high gain on that audio in port, making the SAM software speech synthesizer way too loud.
I also didn't like the look or the inconsistency of the first LEDs being used, and changed them all over to a diffused NTE version instead. Since these are very high efficiency, I was able to increase the current limiting resistors to 2K for all three of them, which matched the brightness of the dual green LED's on the NUC main board. What's also rather nice is that they all look the same when not lit, having a frosted white appearance, and best of all they are inexpensive at about 14 cents a piece.
During the initial firmware flashing I had discovered an error on which pin was designated as TX and which one was RX on the programming header. They need to be swapped. Luckily the programming cable I'm using broke out each wire independently making it easy to fix the issue, and get the ESP32 programmed (PL2303TA Cable Buy Link).
By the way, I also discovered that the program select header (PGM) was not needed, since the 'A' button works in its place.
Flashing Procedure for this Specific FujiNet Board
And finally we get to the real reason I was so keen on redesigning the SIO to ESP32 interface circuit, and that has to do with a random but very noticeable noise experienced during certain sequences in shutdown and restart that has been observed in several versions of the FujiNet hardware. Disconnection of the SIO-audio input has been integrated into the new interface design in an attempt to minimize or eliminate the problem. So far the noise hasn't been seen in the initial tests of this new prototype. Or at least I haven't experienced the right conditions that will make it reveal itself (fingers crossed).
The series resistor for the SIO-Audio had to be increased from 470 ohms to 100K because the NUC already has a fairly high gain on that audio in port, making the SAM software speech synthesizer way too loud.
I also didn't like the look or the inconsistency of the first LEDs being used, and changed them all over to a diffused NTE version instead. Since these are very high efficiency, I was able to increase the current limiting resistors to 2K for all three of them, which matched the brightness of the dual green LED's on the NUC main board. What's also rather nice is that they all look the same when not lit, having a frosted white appearance, and best of all they are inexpensive at about 14 cents a piece.
During the initial firmware flashing I had discovered an error on which pin was designated as TX and which one was RX on the programming header. They need to be swapped. Luckily the programming cable I'm using broke out each wire independently making it easy to fix the issue, and get the ESP32 programmed (PL2303TA Cable Buy Link).
By the way, I also discovered that the program select header (PGM) was not needed, since the 'A' button works in its place.
Flashing Procedure for this Specific FujiNet Board
- Turn OFF FujiNet power switch.
- Connect USB/Serial cable between FujiNet and the computer.
- Press and hold the 'A' button.
- Turn ON the FujiNet power switch.
- When you see both the white and blue LEDs light up release the 'A' button.
- You are now ready to download the new firmware.
- Start the FujiNet Flashing app, and after selecting the serial port associated with the cable, press the Flash FujiNet Firmware button and let it do it's thing (this takes a while).
And finally we get to the real reason I was so keen on redesigning the SIO to ESP32 interface circuit, and that has to do with a random but very noticeable noise experienced during certain sequences in shutdown and restart that has been observed in several versions of the FujiNet hardware. Disconnection of the SIO-audio input has been integrated into the new interface design in an attempt to minimize or eliminate the problem. So far the noise hasn't been seen in the initial tests of this new prototype. Or at least I haven't experienced the right conditions that will make it reveal itself (fingers crossed).
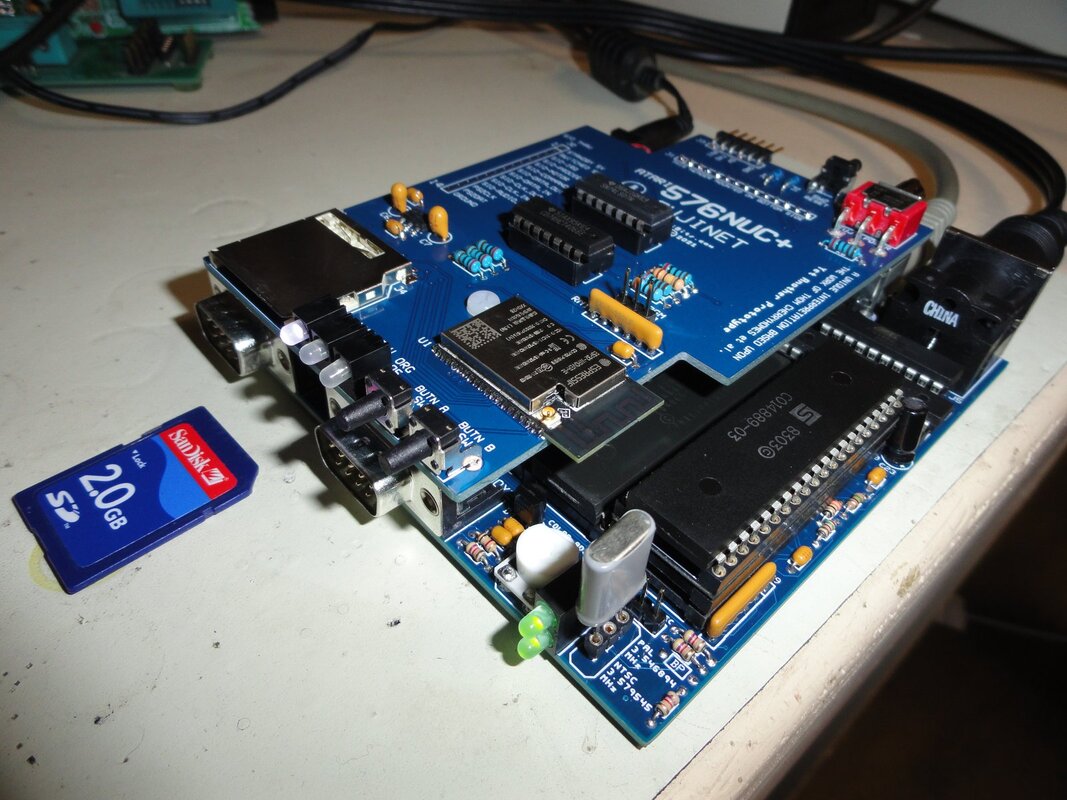
I'm only a Proof-of-Concept Prototype, so please be kind when critiquing
|
Here's an updated schematic (3-7-2021) showing where things are currently at. |
| ||
Now all I need to do is get that pesky SD card to work.
During my troubleshooting I did a continuity check of all the connections between the SD card socket and the ESP32, but so far everything looks correct. Although I haven't entirely ruled out operator error, as in my docs may not match up with reality concerning what pins do what on the socket. The datasheet for the SD card socket I'm using is really piss poor concerning the pin definitions.
During my troubleshooting I did a continuity check of all the connections between the SD card socket and the ESP32, but so far everything looks correct. Although I haven't entirely ruled out operator error, as in my docs may not match up with reality concerning what pins do what on the socket. The datasheet for the SD card socket I'm using is really piss poor concerning the pin definitions.
That's it for now. I'll be sure to report back in when I solve the SD card problem.
- Michael
- Michael
 RSS Feed
