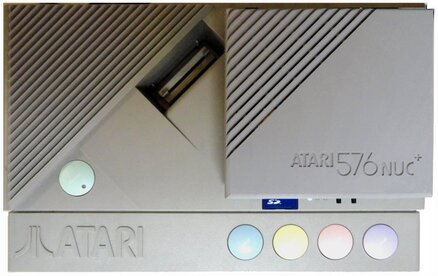
Luckily there appeared to be just enough headroom to pull this off. Although it would require creating holes right where the top and bottom of the case joined up, which was a tricky proposition to say the least.
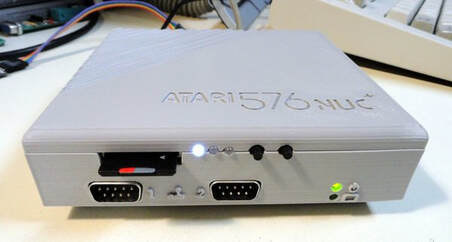
For the SD card, I heated up an X-Acto knife, and made a rough cut smaller than required, which I then finished off with a file to the proper size.
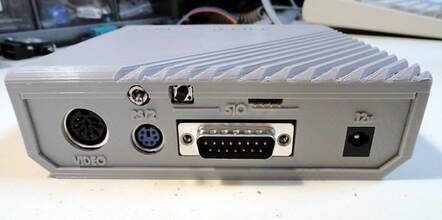
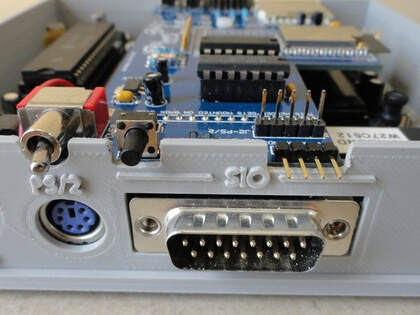
Luckily since the body of the toggle switch sits farther back, I was able to make a round hole between the case halves, same as what was done in the front of the case.
Note: I use a Prolific PL2303 serial UART to USB cable for updating the ESP32's firmware, but a FTDI cable would work just as well.
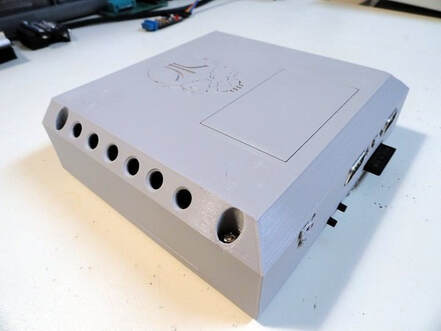
The holes were started with a small drill bit, and then followed up with a Uni-Bit to the desired size. I was able to get a chamfer by lightly touching the top edge of the hole with the next increment of the Uni-Bit.
Identical holes were added to the other side of the case for a uniform air draw from the bottom to the top via convection.
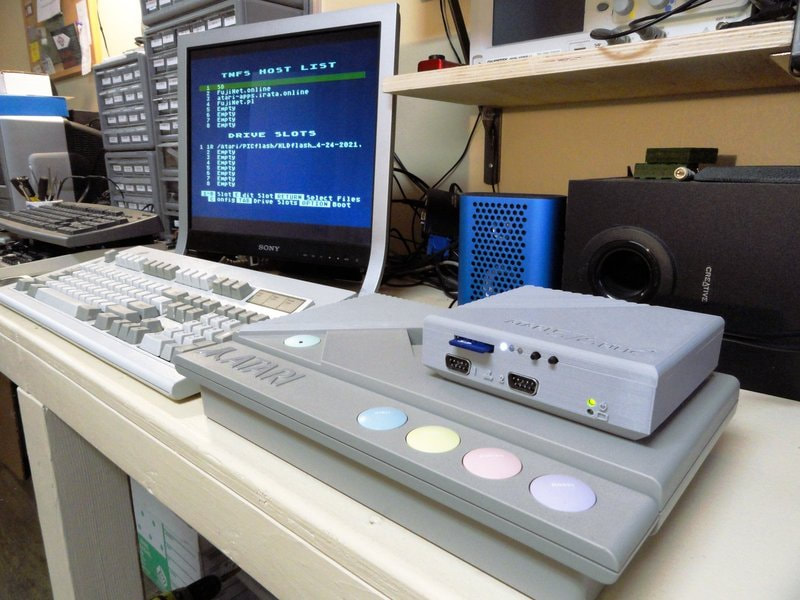
I am very pleased with the final result, although in the future, proper cases with FujiNet in mind will get designed by Mr Robot for production. In the meantime my NUC is now safe in its cozy little home, and is dwarfed by the XEGS sitting below.
 Click Image to Enlarge
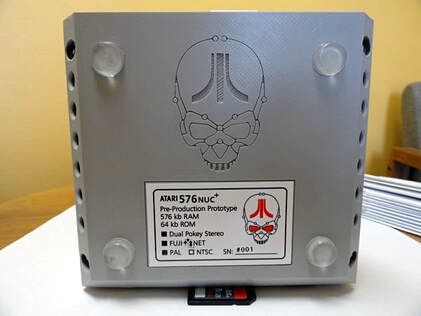
 And for that added a touch, a proper label was placed in the space already provided for it.
I got this from Sticker You and ordered a sheet of them to share with the beta testers on this project.
Also found some very nice self-adhesive clear silicone feet at Home Depot.
- Michael

 RSS Feed
